Landcover Classification
Using ArcGIS Pro to classify the landcover of Utrecht

What is an NDVI map?
NDVI stands for Normalised difference vegetation index and is commonly used as a visual index to assess the quality of the vegetation in an area; i.e. if it is green healthy vegetation.
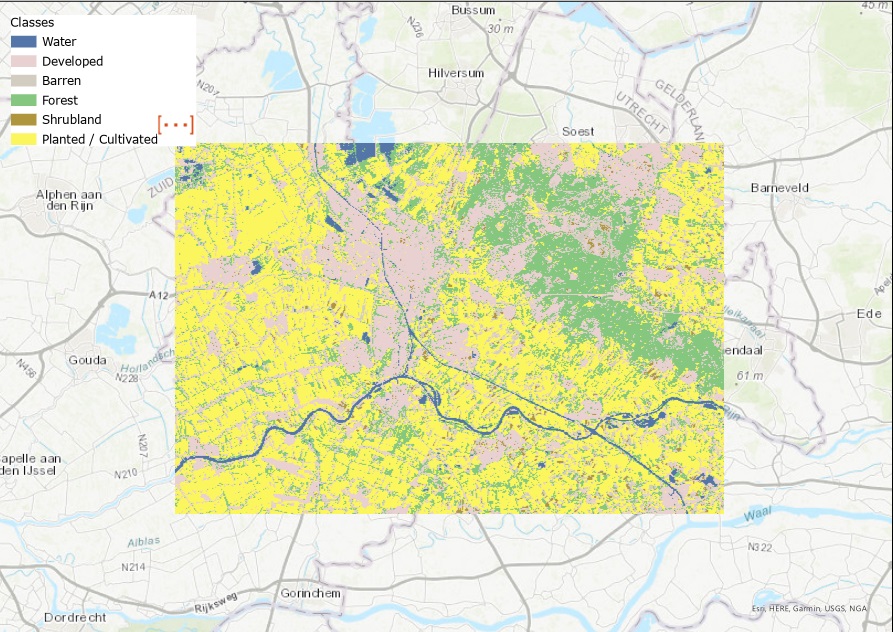
What is the difference between supervised and unsupervised classification?
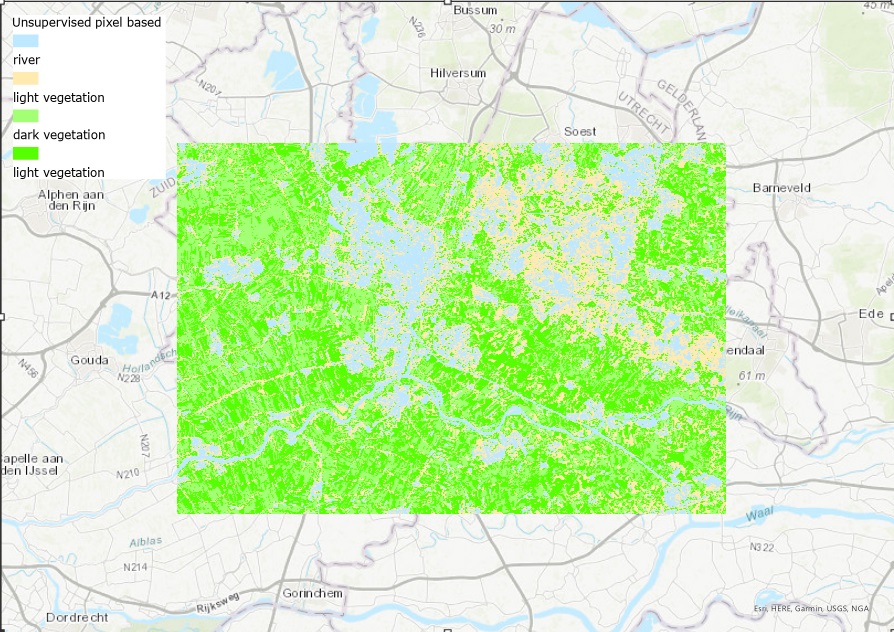
Supervised classification is where the human/editor decides what categories they want to categorise the pixels/objects in the map as. As such, they will have to train the software to recognise what belongs in these categories and then afterwards, using a classification wizard, the software will classify things based on what it was trained to. Unsupervised classification is where the computer decides which classes are present based on the spectral characteristics of objects in the map.
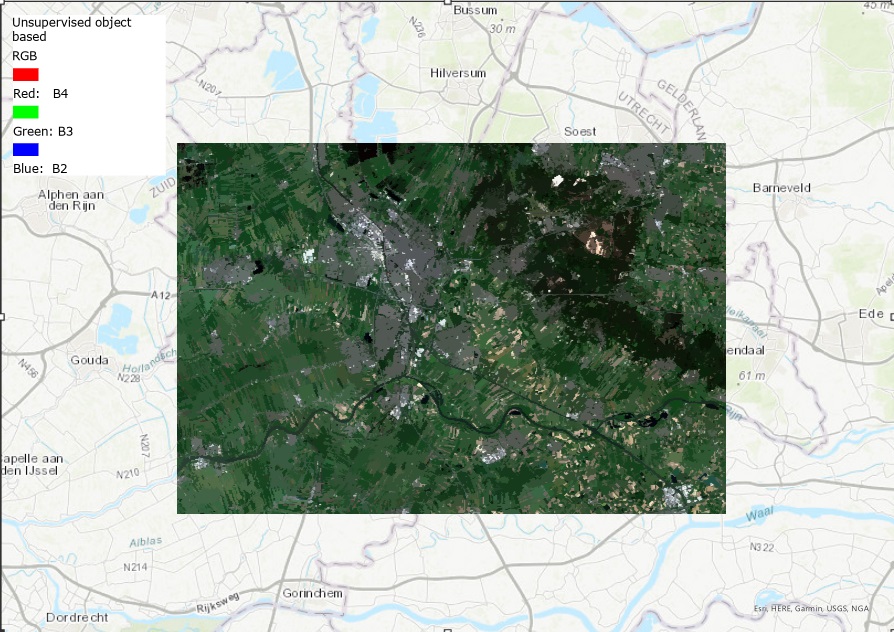
I think that the supervised pixel-based classification worked the best for my area because this looks the closest to the natural composite image of the area. I think this is better than the unsupervised pixel-based and object-based classifications because I noticed that sometimes they counted the urban and developed areas (like buildings) as roads. Whilst this is technically true because they are “developed” areas, “roads” is already a category and I wanted to separate these and distinguish roads from buildings and roofs, etc. Therefore, I think the supervised pixel-based classification is better at creating more distinguished layers and groups.
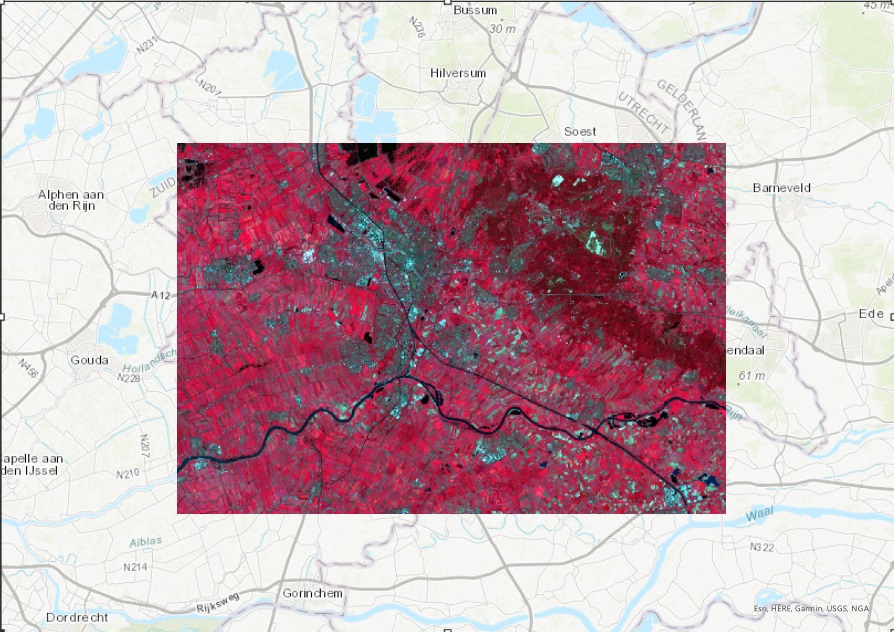
How did I make this map?
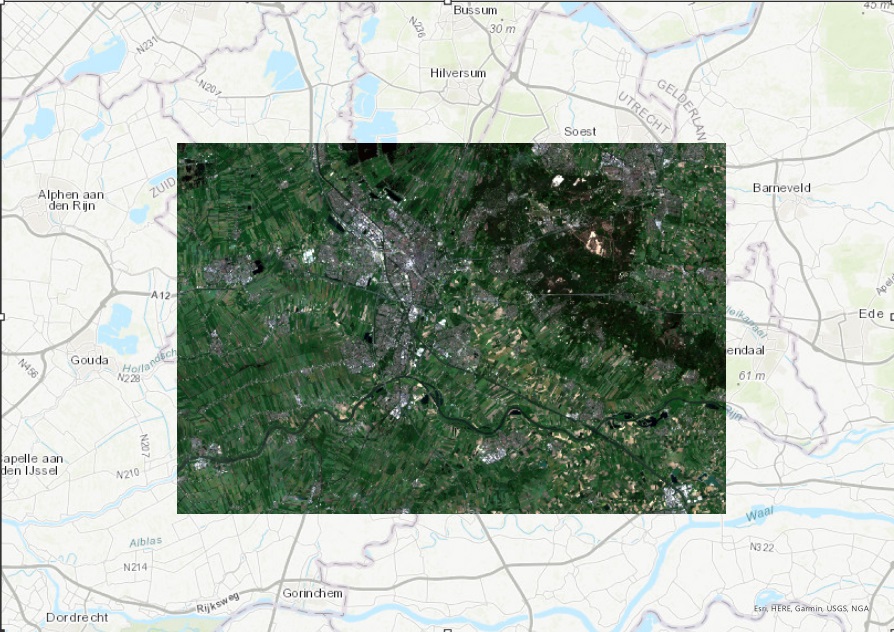
To create these maps, I downloaded data from Sentinel 2 (a satellite) of Utrecht from Google Earth Engine and then ran different colour composites (false and true) to experiment. Then, I used the "Classification Wizard" tool to create the different supervised and unsupervised pixel/object-based maps (as presented in the slideshow above).
Creating the NDVI was quite simple as I used the NDVI option under "Raster Functions". After choosing the appropriate bands for the visible and infrared ranges, I created a new layer in which the map was visible.
Obstacles encountered and skills I learnt as a result:
- Learning how to code with Java: I obtained this skill when I was obtaining the Sentinel 2 data from Google Earth Engines
- Learning the importance of training the data: I had to train the computer to recognise certain classes (like water, trees, ground, buildings, etc.). This was a bit difficult because I am still learning about Utrecht's geography so I needed to look at the reference map (the true colour composite layer) to train the computer. After having done so, however, I learnt the importance of supervised classification because if I did have better local knowledge, then the supervised classification data would be more accurate.